 Remember this lamp from my boy's bedroom?
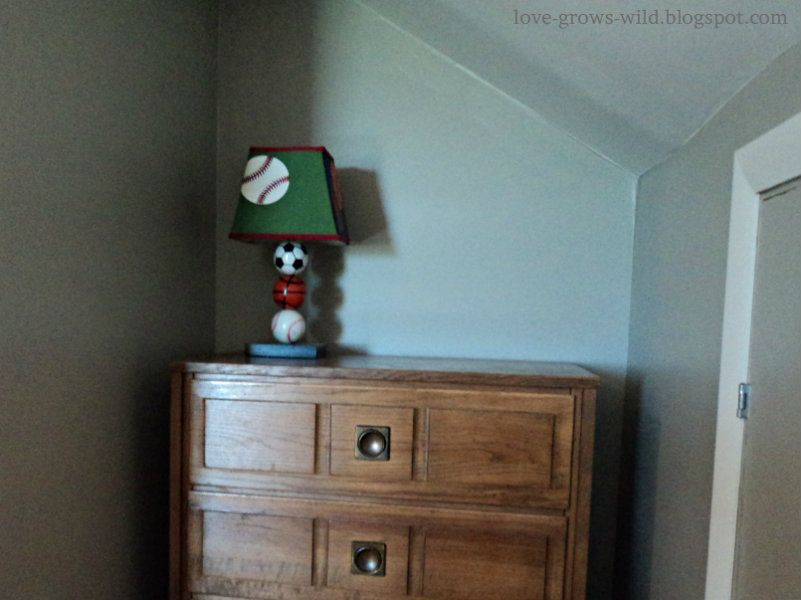
Well so far, the base has been transformed by a fresh coat of white spray paint and a SUPER easy image transfer method.
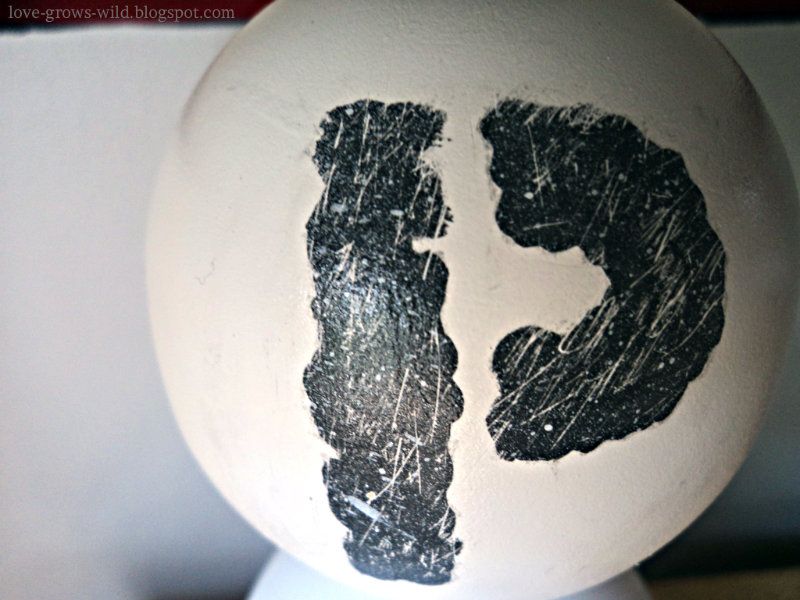
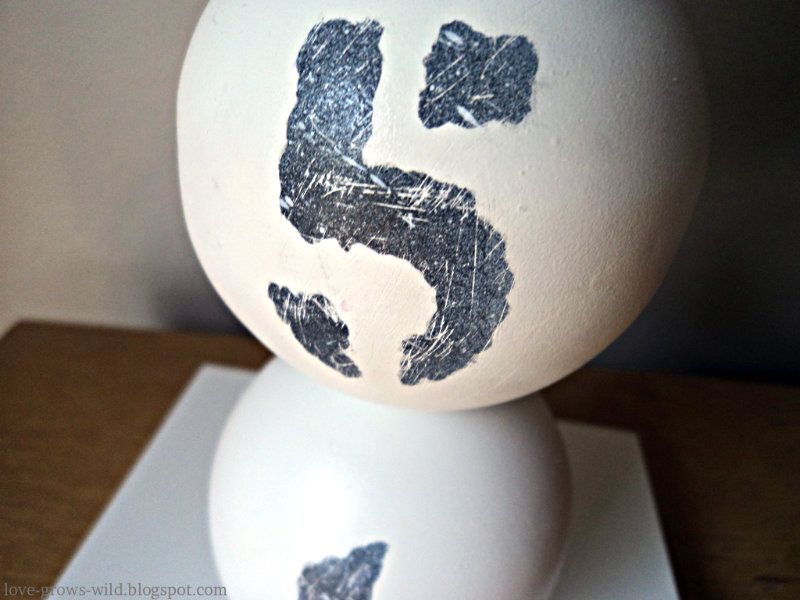
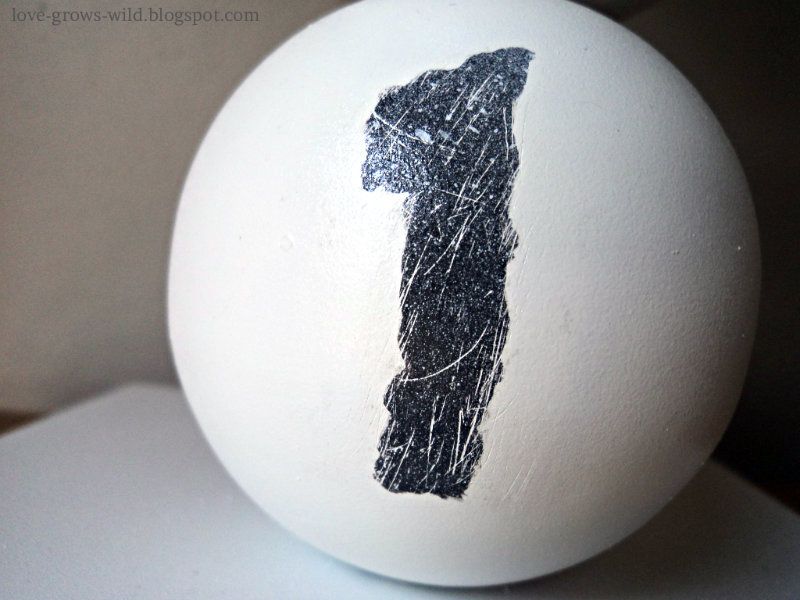
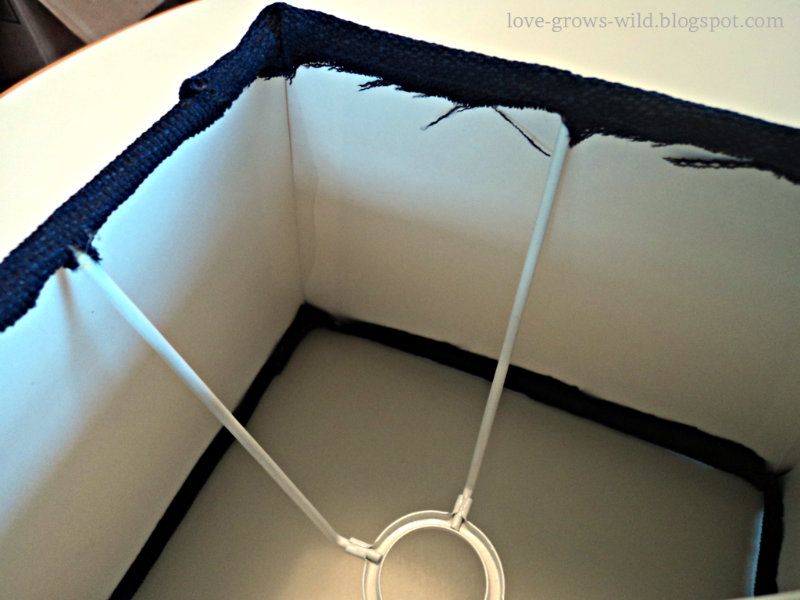
Looks awesome, right? Well then I tried to revamp the lamp shade. When I gently removed the fabric from the shade, the inner lining, which already had a few tears in it, became totally ripped and unsalvageable.
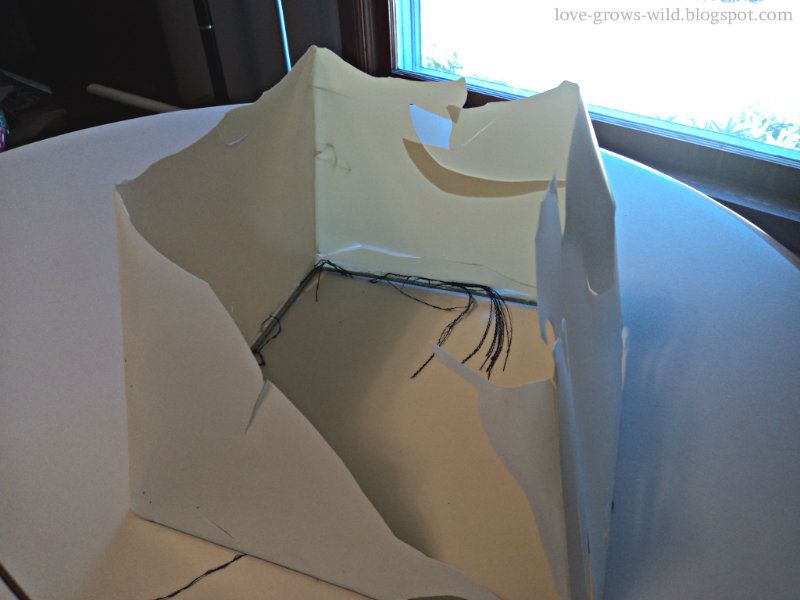
BUMMER.
After tearing all the lining off the metal braces and letting it sit in a giant messy pile on my desk for a few days, I decided I had two options:
1) Scrap the whole mess and buy a new lamp shade
2) Get creative and rebuild the lamp shade myself
Since I'm cheap thrifty I decided to DIY a new lamp shade. So out came the poster board and E-6000 glue. (Forget you see my hot glue gun; I needed the Mother of all glues for this project!)
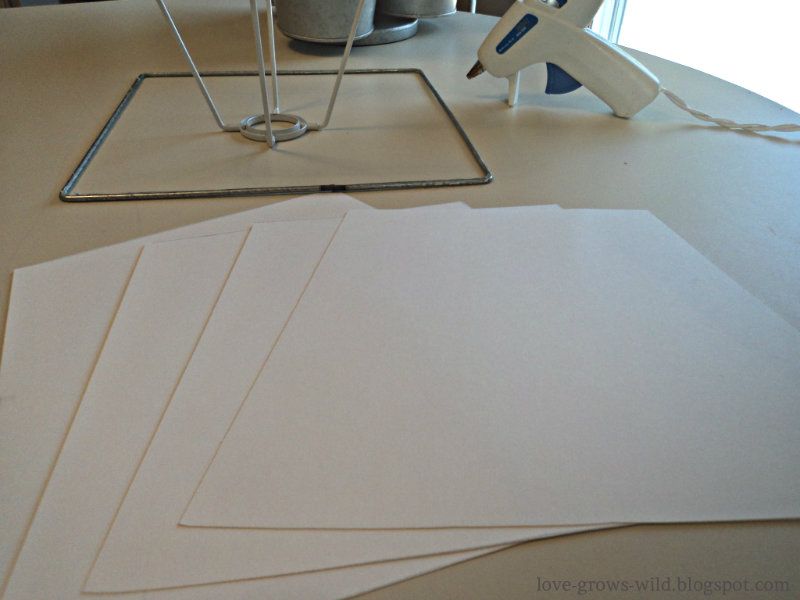
Before I ripped off all the broken inner lining, I traced a template of one side of the shade. I used that template to cut 4 pieces of poster board, one for each side of the shade. I glued the 4 poster board pieces to the top and bottom of the metal braces using the E-6000 glue and held them in place with clothespins while it dried.
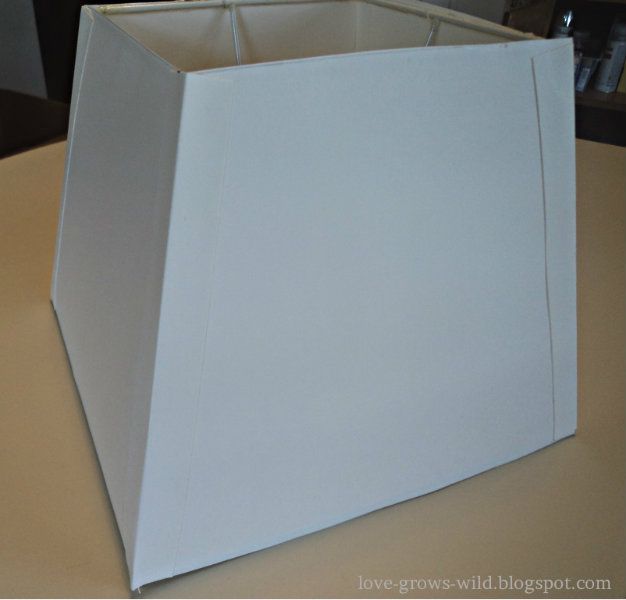
To make the shade more sturdy and give each corner a finished edge, I cut 4 strips of poster board the length of the shade, folded them in half, and glued them over each corner.
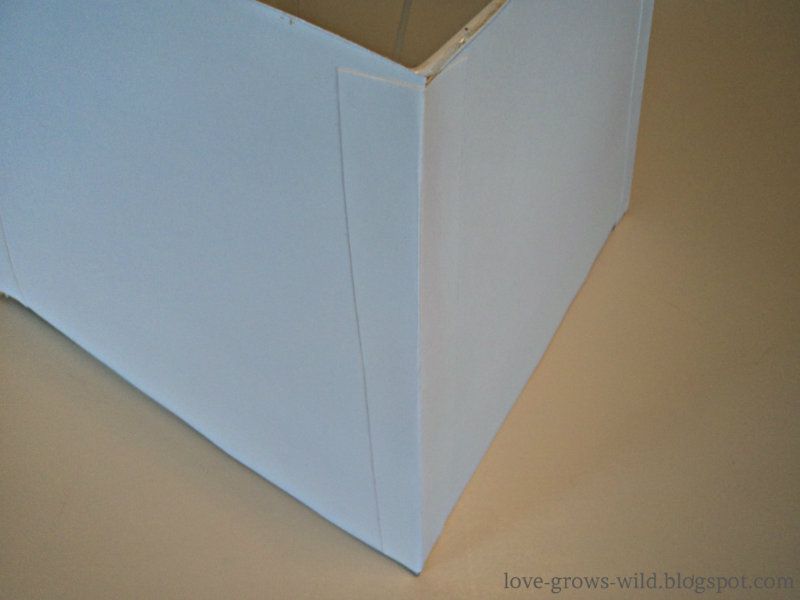
Phew! Crisis averted. Now I can move on to covering the shade with fabric.
The first time I tried to recover the lamp shade (yes, I had to recover it twice) I cut a straight strip of fabric and tried to bunch the fabric as I glued it to the inside of the shade. It worked ok, but it looked messy and was definitely not the clean look I was going for.
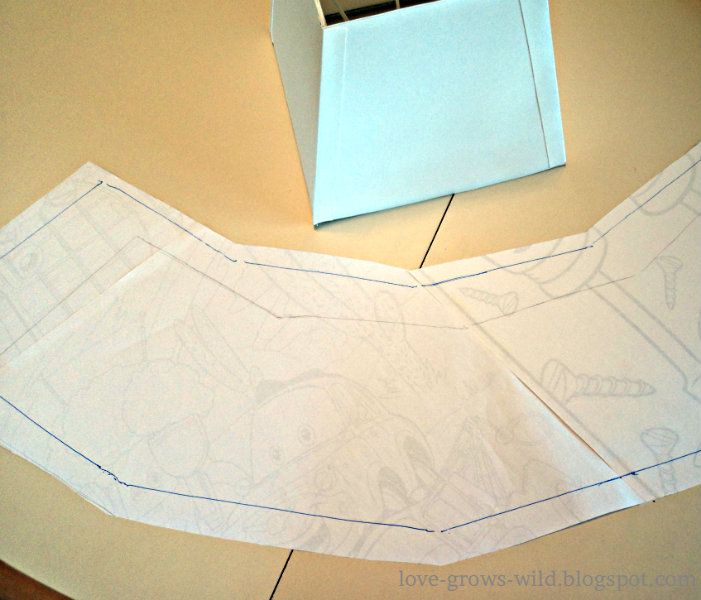
So for take 2, I decided to make a template of the shade to cut my fabric. I got a giant piece of paper (I taped together a few of my boy's large coloring pages, but kraft paper would be perfect!) and laid the shade on the paper. I traced the top, bottom, and one side of the shade, then carefully rolled the shade across the paper, continuing to trace the top and bottom as I went, until I had traced all sides of the shade. Does that make sense? The picture below should help explain. When I cut out the template, I added about an inch all the way around so I would have room to glue the fabric to the shade.
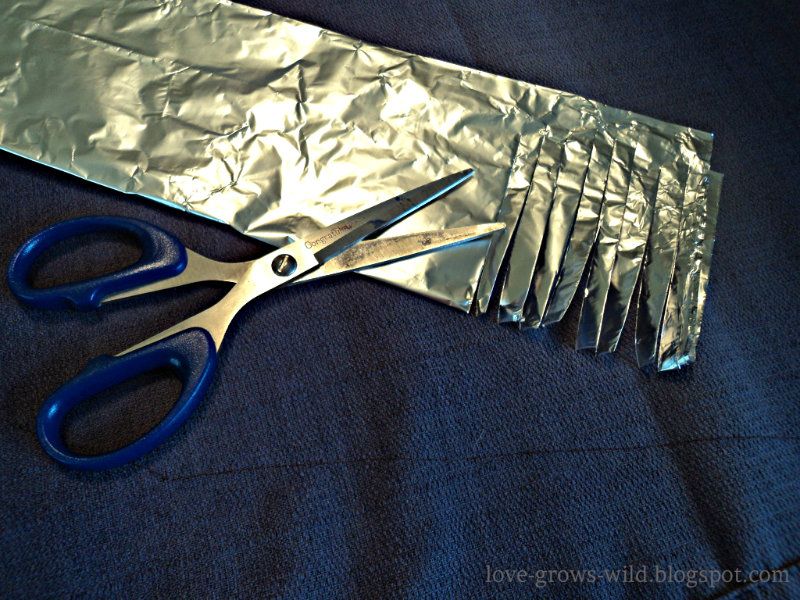
Since I'm cheap frugal I haven't splurged on a nice pair of fabric scissors yet, so before I started cutting my fabric I sharpened my craft scissors by cutting through sheets of foil. I love that tip!
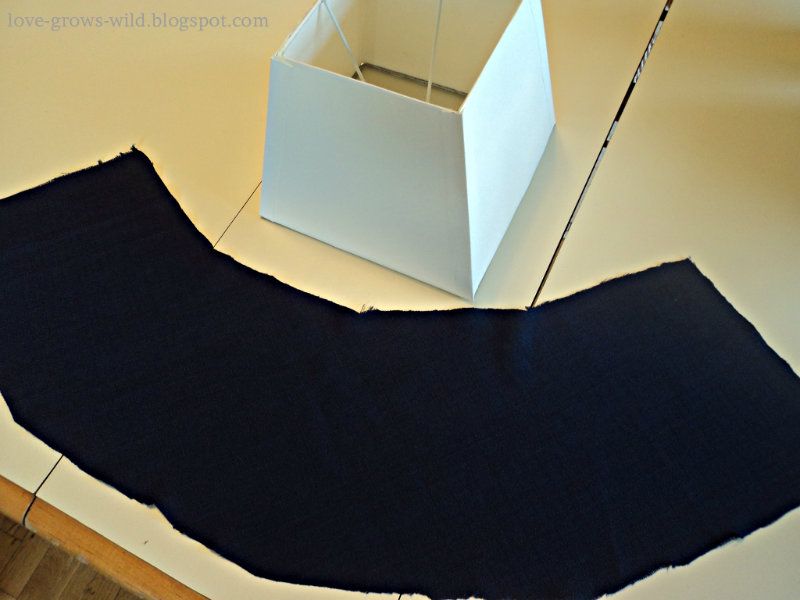
I still have navy blue curtains from the boy's old bedroom, so I decided to use one of them to recover the lamp. It will tie in nicely with the boy's new-ish curtains (coming soon!)
For this part I did rely on my good ol' hot glue gun. I simply wrapped the fabric around the shade, gluing on the inside of the shade as I went.
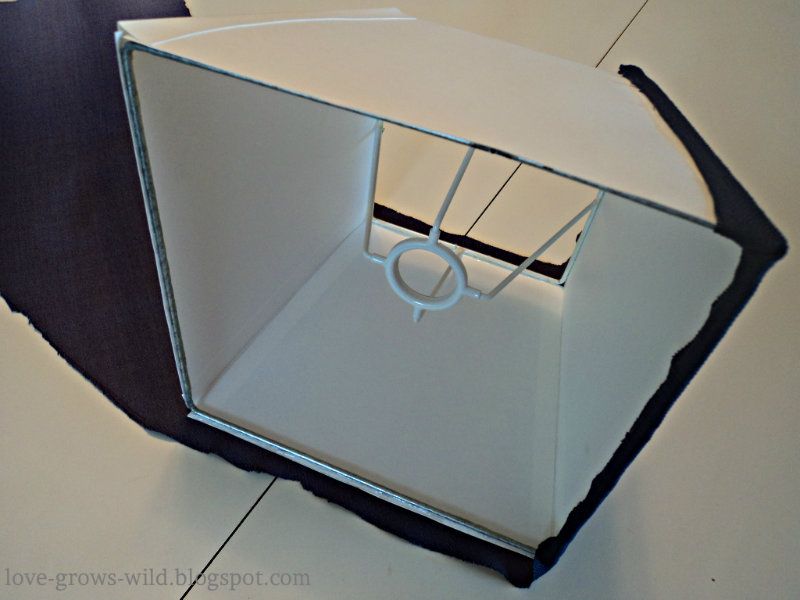
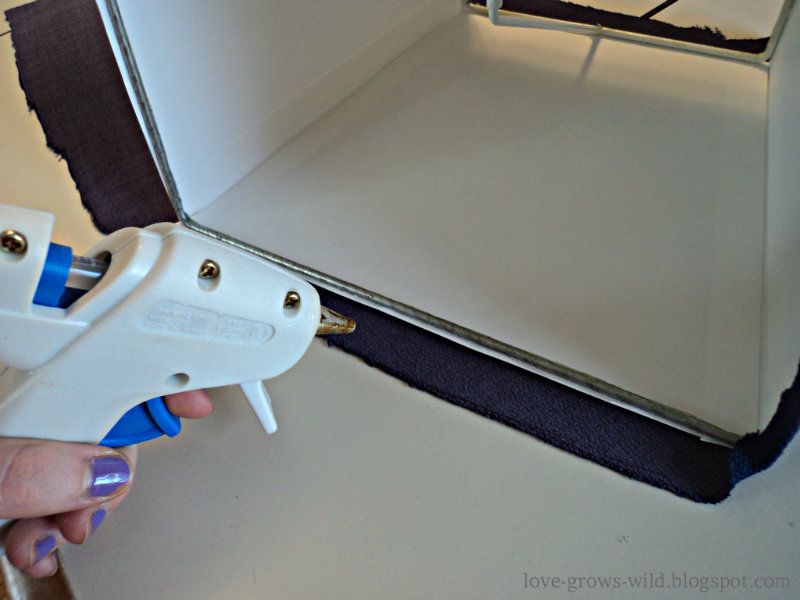
When I got to the end of the fabric I ran a strip of hot glue across the edge,
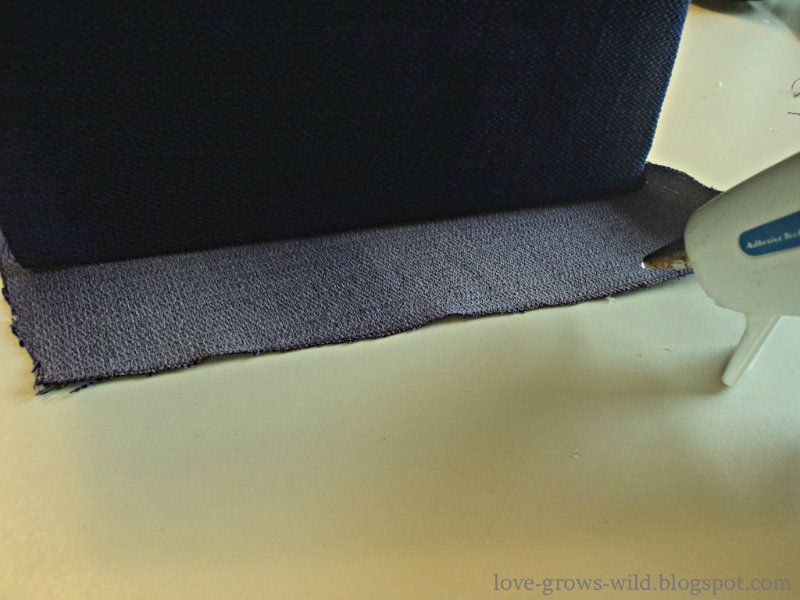
and folded it over to make a finished edge.
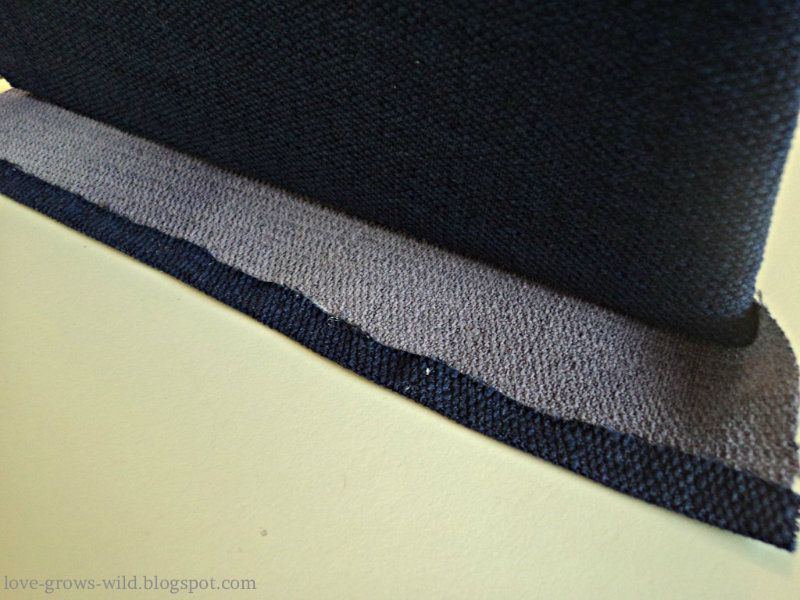
I then glued the finished edge to the shade.
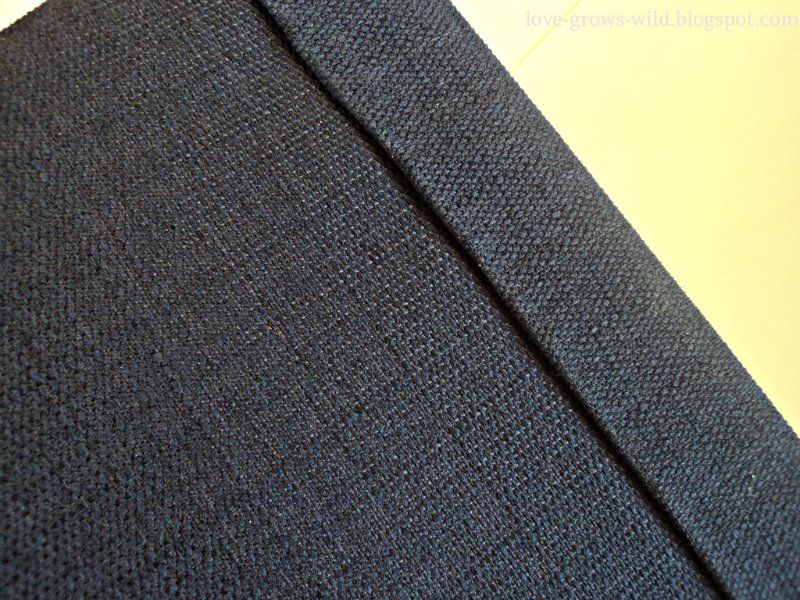
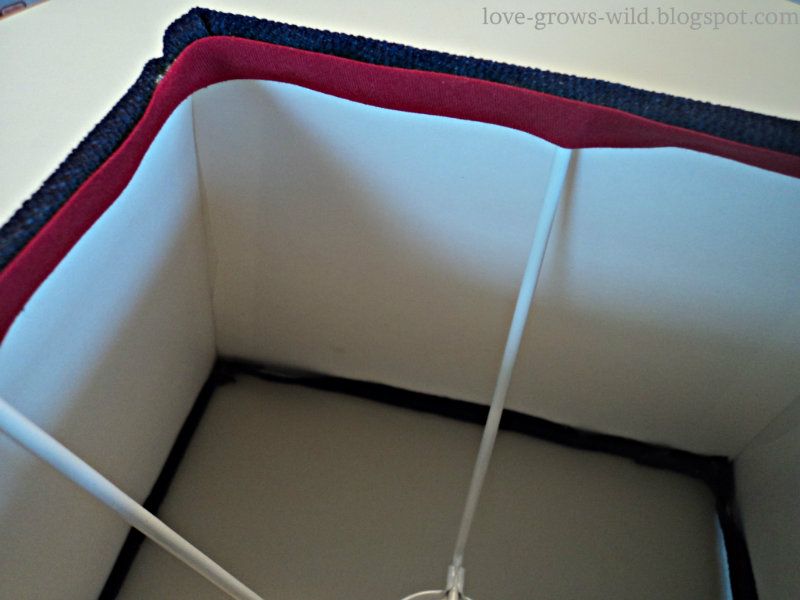
The inside of the shade looked a little rough, so I used the red bands of fabric I pulled off the original sports shade and glued them over the inner edge of fabric.
Much better!
Ready to see the completed lamp revamp?
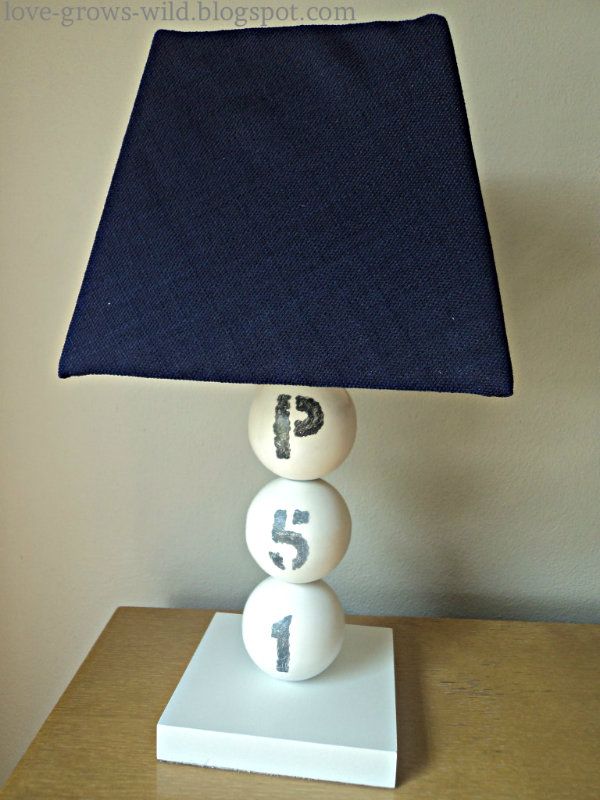
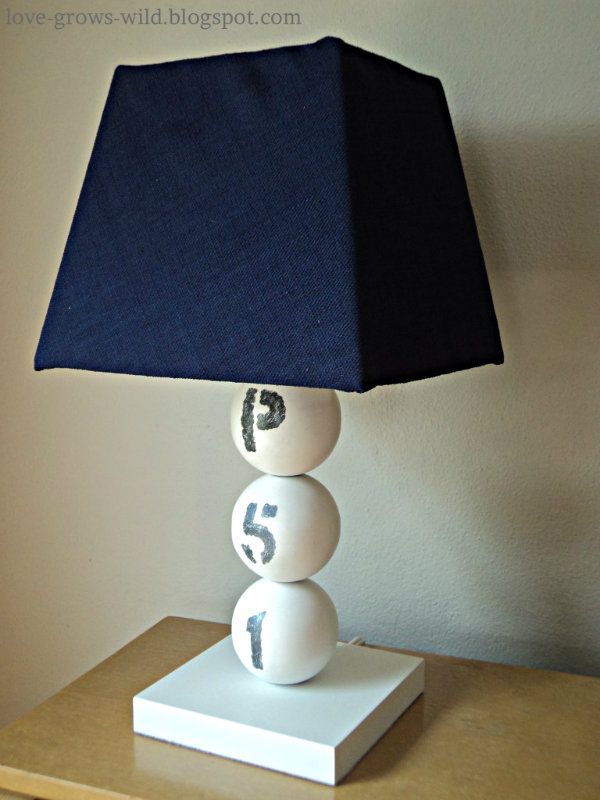
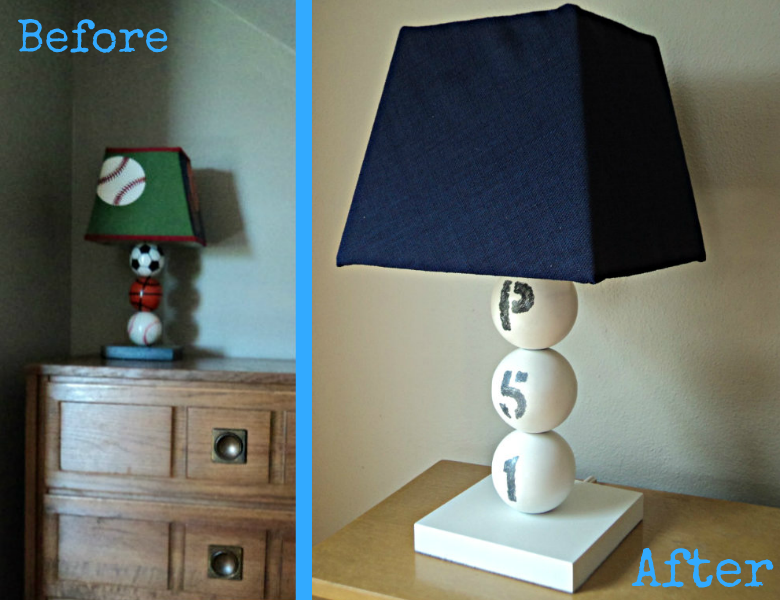
I LOVE the way it turned out!

0 comments:
Post a Comment