 Just a few days left in the 12 Crafty Days of Christmas series!
 Don't miss the big giveaway on day number twelve (December 4th)!

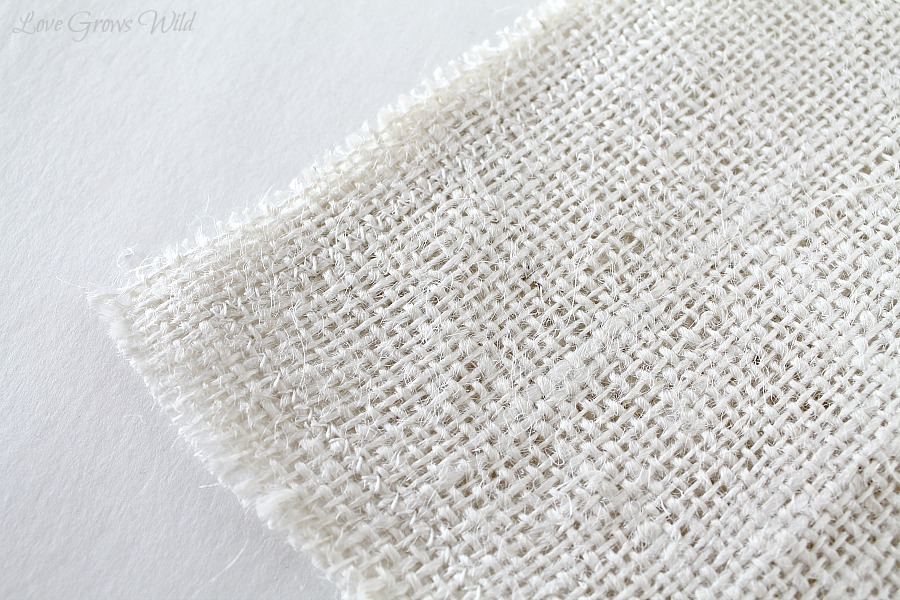
Today's crafty Christmas project combines two of my current obsessions: white burlap and deer silhouettes. I've seen deer motifs everywhere and have been wanting to add some to my home for the holidays. And since I'm cheap crafty, I came up with this Burlap Deer Head Pillow!

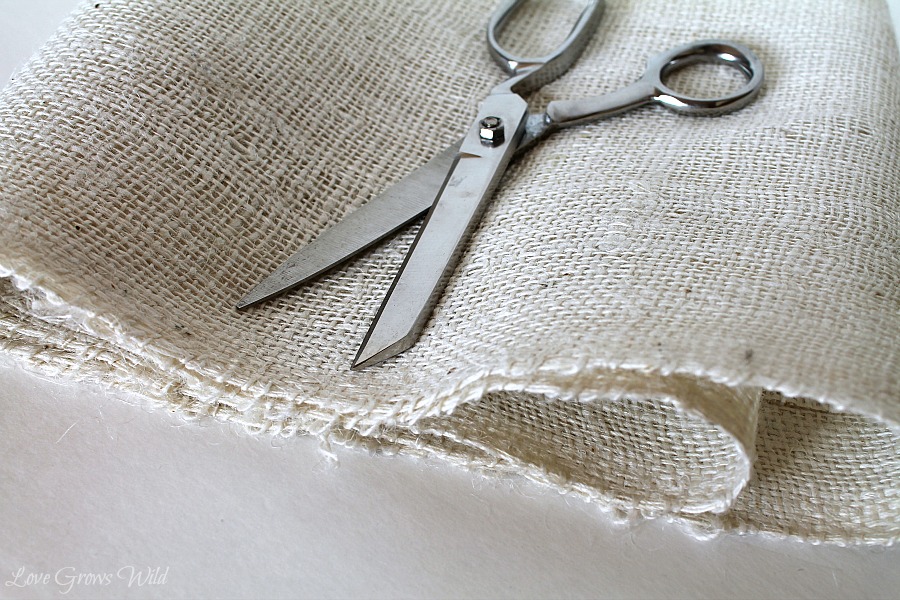
I started by cutting three pieces of burlap. My pillow measured 18 x 18 inches, so I cut my burlap to these dimensions to create an envelope pillow cover:
one - 18" x 18"
two - 18" x 14"
You can read my Envelope Pillow Cover tutorial for full details.
To transfer a deer image onto my pillow, I used the same technique as my Autumn Burlap Pillow. I found a deer head silhouette image on the computer (just type "deer silhouette" in Google images) and traced it onto a sheet of paper using a black Sharpie.

I placed my 18 x 18 inch piece of burlap on top of my deer head outline, which I could still easily see underneath the burlap.

Then I used a black fine tip Sharpie to trace the outline of the deer head onto the burlap. I find it easiest to use a dotting technique to mark on the burlap, rather than trying to draw across the burlap.

Once my outline was complete, I used a thicker tipped Sharpie to color in the deer head, again using the dotting technique.

Then I assembled my pillow! First I folded over and hemmed one long edge of each 18 x 14 inch piece of burlap. I placed my 18 x 18 inch piece on the table, right side up, and placed both the 18 x 14 inch pieces on top, right side down with hemmed edges overlapping in the center. Then I pinned all the way around the pillow cover. (Again, you can see my Envelope Pillow Cover tutorial for more details)

I sewed the pillow together using a zig zag stitch and turned the pillow right side out.
And here's how it turned out!!

The rustic look of the pillow fits in perfectly with the woodsy theme in my breezeway. It makes such an inviting entrance to our home!


The inside of my house is decorated in very neutral colors, so I love adding pops of red in the breezeway!


I purchased $2 red bows from Big Lots and dressed them up with floral picks from Hobby Lobby. I hung one in each window of the breezeway.


I think this is my favorite 12 Crafty Days of Christmas project so far!! Next to my Felt Pine Trees... or my Pinecone Gnome Ornaments... Ok I love them all!
Tomorrow's Christmas craft comes from Kelly at Here Comes the Sun... Stay tuned for more 12 Crafty Days of Christmas! 

Looking for more Christmas projects?

0 comments:
Post a Comment